Summer Sprouting!

In summer time I spend a lot of time in the garden tending to my veggies but I’ll also enjoy sprouting indoors to grow sprouts to add to my salads and sandwiches. It’s easy, quick and there isn’t the disappointment of finding everything has been eaten by slugs and snails overnight!
Sprouting is the awakening of seeds, beans, nuts or grains so that they start to grow. Without the sprouting process they are already incredibly nutritious but when sprouted their nutritional profile increases enormously. They are, afterall, getting ready to become a much bigger plant!
In addition to this it is said that sprouts are much easier to digest than the original seed, bean, nut, or grain. Plus, when added to a meal they help in the digestion of that meal.
There are probably many more articles or websites that can go into the nutritional benefits in much more detail so because I’m not a qualified nutritionist I’ll leave you to find these yourself rather than risk giving inaccurate information. I’ll just concentrate on my experience and the how to.
So, you will need:

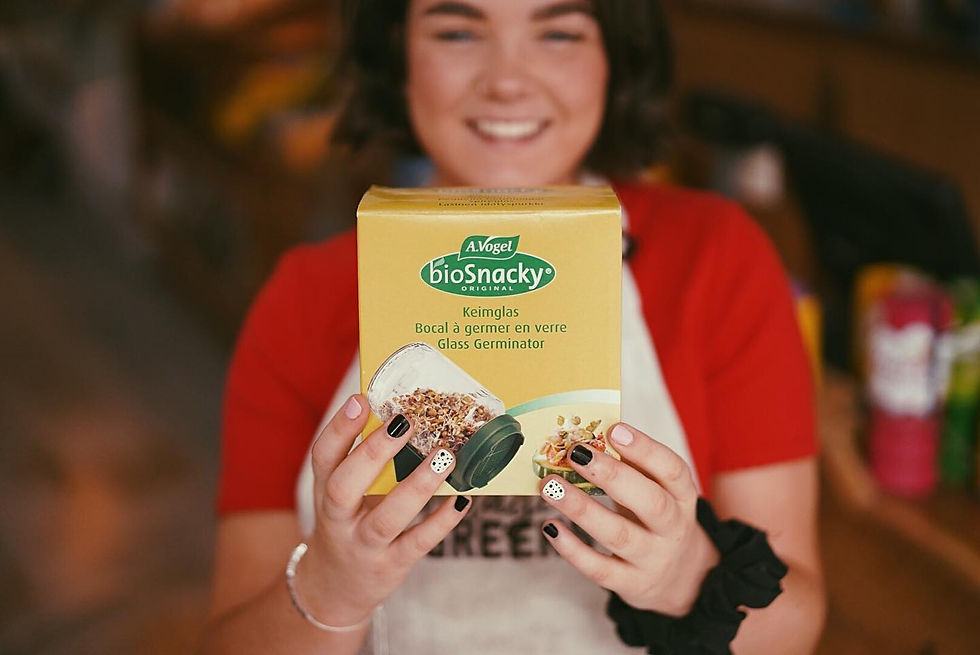
-A sprouter (I have this A Vogel one)
OR a large (1-2 litre) jar and a lid that's pierced to provide ventilation and drainage
Before buying a sprouter I made my own by stretching muslin across the mouth of a jar and holding it in place with an elastic band. The sprouting seeds, however, would get stuck to the muslin, especially alfalfa so it was a bit messy. If you do use this method make sure you wash the muslin between uses.
-Seeds, Beans, Nuts or Grains for sprouting
WARNING It should be noted that there is a small risk of food poisoning when sprouting. The NHS website gives the following advice:
‘Like any fresh produce that is consumed raw or lightly cooked, sprouts can carry a risk of foodborne illness if they are contaminated. Unlike other fresh produce, the warm, moist conditions required to grow sprouts are ideal for the rapid growth of bacteria…use seeds suitable for home sprouting, which are subject to strict controls. Always follow the manufacturer's instructions.
Equipment used for sprouting seeds should be cleaned thoroughly using hot soapy water before and after use. Always wash your hands before and after handling seeds intended for sprouting, as well as when preparing food generally.
https://www.nhs.uk/live-well/eat-well/sprouted-seeds-safety-advice/

Method:
So, if I’ve not scared you off, which hopefully I haven’t, here’s how to get sprouting!
- Place the seeds etc in your jar, I usually fill to no more than 1/3 of the jar
- Rinse well with cold water and drain
- Replace the seeds etc and put on the lid/cover the top with your muslin
- Add water (room temperature) to fill the jar and set aside to soak overnight
- In the morning drain the water by turning the jar upside down.
- Pour more water through the lid, rinse and drain again.
- Leave the jar on a 45 degree angle so that any more water can drain. I usually leave mine on a plate to catch the drips.
- Place somewhere fairly dark that is not too warm or too cold. Just room temperature is fine.
- Leave to start growing!
- You’ll need to return and repeat the rinsing and draining process two or three times a day.
- Depending on what you’re sprouting they will be ready to use in just a few days. Usually three to five days is average. When they are fully grown they can be completely drained and eaten. They can be kept in the fridge for two or three days longer but if they start to go brown or discoloured I would discard them.
What next?
Well, as I have no imagination I usually use them in salads, sandwiches, etc. They are lovely stirred into houmous too. I do sometimes cook them by throwing them into stir frys or using them as if they were their unsprouted form in daals or stews. For those who like to drink their 5 a day they can be blended into smoothies, I have even heard of them being dehydrated and then ground into a powder to be added to smoothies and juices.
I hope you've enjoyed my latest post and it has ignited an interest. There are plenty of online articles about sprouting and specific soaking times and sprouting times if you would like to explore further. Thanks for reading.


